HOW ITS MADE
 I used string to outline how I wanted the dress top to look, and map out seams.
 2Measured the lines for final fit. I added room for seams.
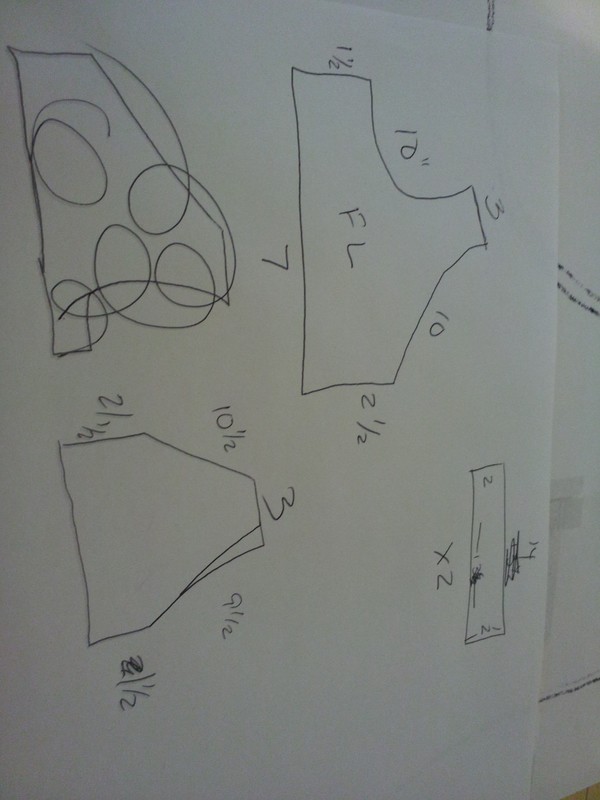
 3I translated the pieces and the measurements on to paper. I had 3 pieces: back, front and belt.
 4Since I didn't have big enough paper to make the pieces, I taped together printer paper.
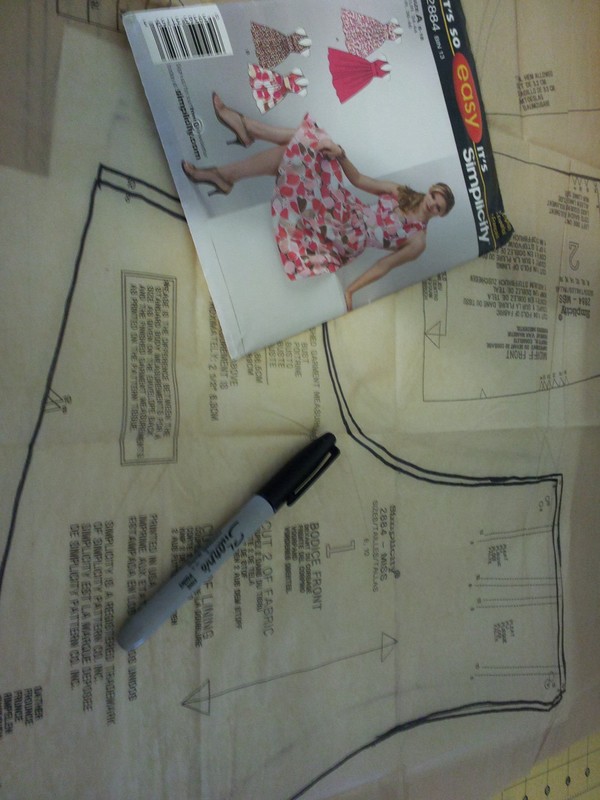
 5I used a simplicity pattern to help form the shape I wanted. I used a permanent marker to bleed through the tissue paper of the pattern on to the printer paper. I used the top front and top back only.
 6I made the adjustments to the pattern using the measurements from the paper.
 7Document measurements on pieces and cut out.
 8Measure the desired length of the skirt from the bottom of the bodice.
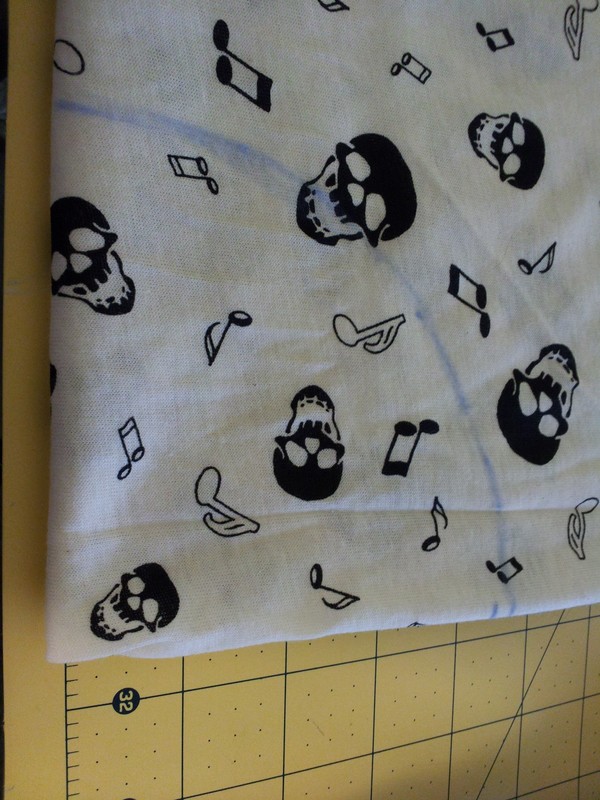
 9Layout fabric. Fold into quarters. (AKA fold in half, then fold in half the other way.)
 10Ok, heres the weird part.Take your waist measurement. This will be referred to as "W"1. W/3.14=X
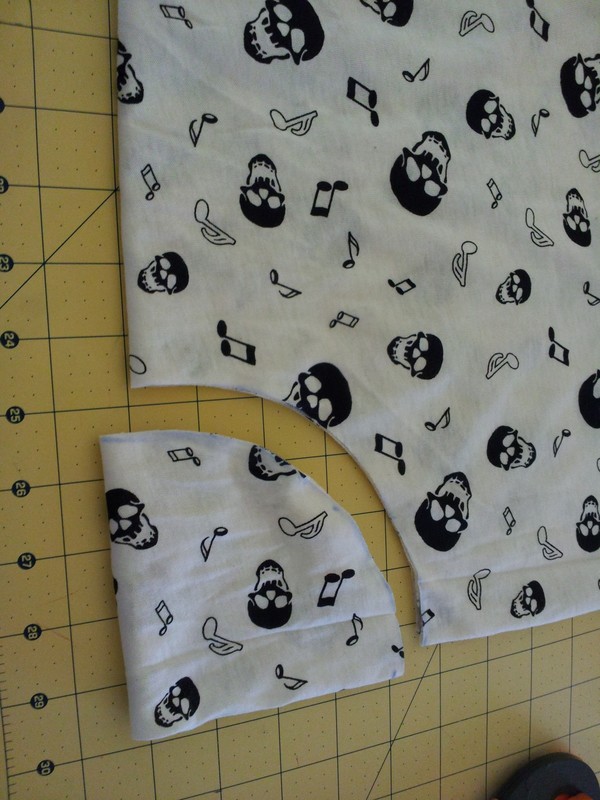
2. X/2=ZZ is you're radius, which is used to make the skirt.Using the corner with no raw ends, where both fold apex, measure out Z from each corner down both sides. Make a quarter circle from each side, connecting them like show to the left. 11Cut
11Cut 12Using your "desired length of skirt from waist" measurement, measure from the cut you just made, down each side and mark. Connect these dots using the same quarter circle principal as step 10. Cut. if you open this, it should lay flat as a circle with a circle in the middle.
 13Lay out the top back and top front bodice pattern piece and cut 2 from fabric and 2 from lining.
 14Make 4 belt pieces. Each being as wide as wide as you want, plus seam allowance. Use half of your waist measurement for the length of each piece, plus of course seams.
 15After all the cutting out, I pinned them to my form to get an idea where the gathers and seams would go.
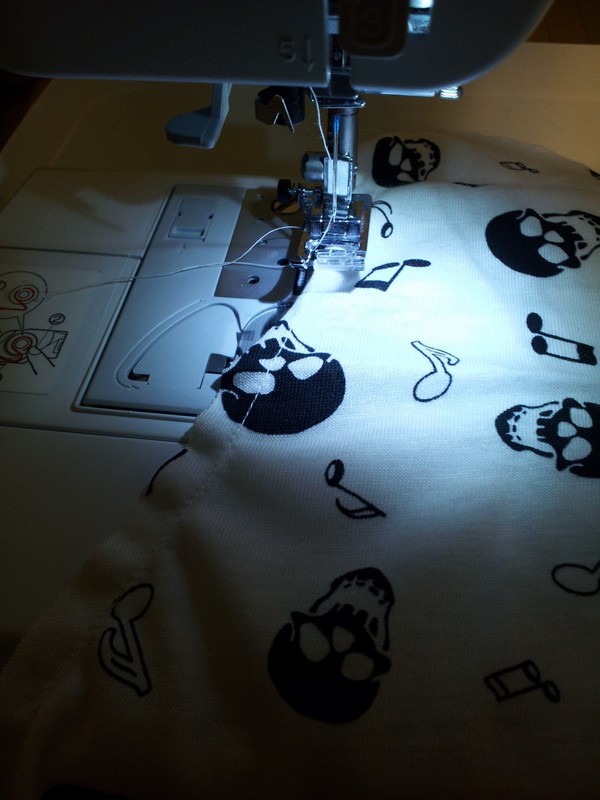
 16Make sure to stitch around the raw edge of the skirt to prevent stretching. If you use a stretchy fabric, make sure to use stitches for stretch material or else this could make the dress less flexible.
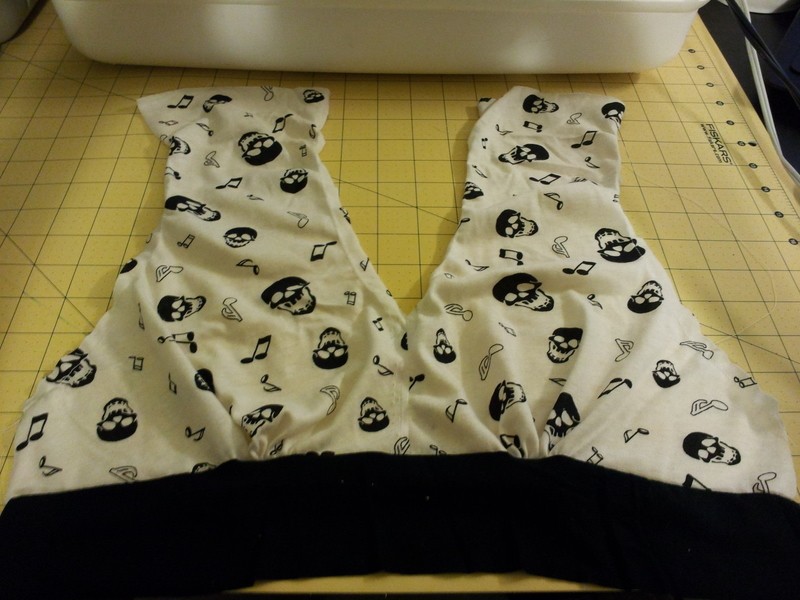
 17With right sides together, sew front pieces together at center. Repeat with back pieces and lining pieces. Then with right sides together, sew belt along the bottom.
 18You should have 1 back piece of fabric, one of lining, and 1 front piece of fabric and one of lining with belts.
- 19I forgot to take pictures after that. Got too wrapped up in it. So if you want to continue, read carefully.I sewed the linings together at the sides with right sides together. So Back lining to front lining at sides. I repeated with the fabric pieces.Then I put the lining inside of the fabric with the right sides facing together and sewed the raw edges, except for the belt bottom edge. I then turned them right side out (or fabric side out).Then I put the skirt inside the bodice with the bottom of the belt lined up with the top edge of the skirt, and the fabric side of the bodice facing the right side of the skirt. I sewed all the way around the edge using the stretch stitch.Connect the shoulders. you can do that as you wish. I used black covers around them so that the seam couldn't be seen.
 20
20