|
| Matching Dress |
The Handbag
I made this as an easy alternative to buying a matching purse for each dress. I'm simply not that high maintenance. But I also don't want to put work into dresses, then make it look funny with an odd handbag.
- 1
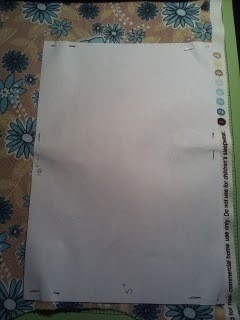
 Step 1: Figure out the size you want the final bag to be. (I found 6 by 9 inches to be perfect hand size) Add an inch to each. (So 7"x10" for mine)
  2Step 2:
Cut the excess from the paper. 3Step 3:
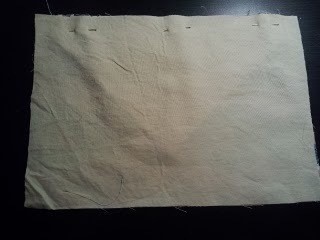
Pin and cut 2 pieces from each material. 4Step 4:
Measure an inch from the long edge and mark on each side. Measure to the center of the other long edge, then an inch in, and mark. Draw the lines as shown 5Step 5:
Cut paper 6Step 6:
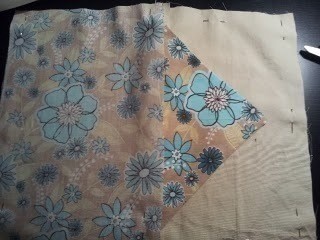
Pin and cut 1 from each fabric 7You should have these
2 of each rectangle
1 of each triangle 8Step 7:
Put Wrong sides together. Stitch 1/4" seam all the way around. 9Clip Tip. Turn right side out and Press.
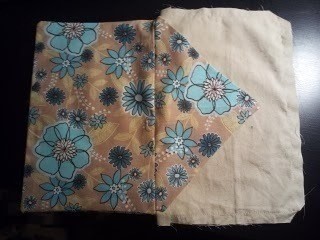
 10Step 8:
Put matching flap side on right side of matching fabric. 11Step 9:
Lay Opposite fabric right side down on top matching edges. Pin top edge. 12Step 10:This was the tricky part.Lay the bag wrong sides down. Flap up.
Lay the remaining fabrics right side down on matching sides. So for mine. Flowers on flowers, tan on tan. Pin all 3 sides, except flap edge for both sides. 13Step 11:
Sew all 3 edges with 1/4" seam, make sure not to catch any of the other fabric or seams. 14Step 12:
Clip corners, make sure not to clip seams. 15Step 13:
Turn fabric A side right side out. 16Step 14:
Turn fabric B into Fabric A. There will be 2 raw edges. 17Step 15:
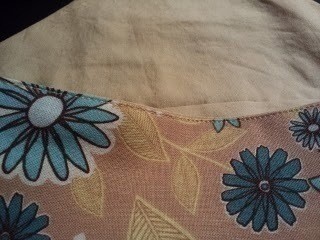
Fold in 1/4" of fabric on each raw edge, pin and sew them together close to the edge. 18Like So.
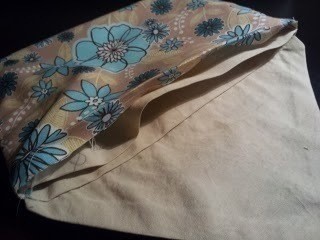
 19It should look like this....
 20....and this when turned inside out.
 21Final steps:
add a button hole and a button on each side. TADA